ကျွန်တော်တို့ ansible မှာ variables တွေကို access လုပ်တဲ့အခါ Jinja2 syntax ( “{{ variables }}” ) ကိုသုံးပါတယ်.
ansible မှာ Jinja2 ကို နေရာ တော်တော်များများ မှာသုံးထားပါတယ်. Jinja2 ကိုနားလည်ဖို့ programming ကိုအနည်းငယ် နားလည်ဖို့ လိုပါတယ်.
Jinja2 က python template engine တစ်ခုပါ, template engine ကို ကျွန်တော်တို့က dynamic ဖြစ်တဲ့ variables တွေကိုသတ်မှတ်တဲ့နေရာမှာသုံးတာများပါတယ်.
ကျွန်တော်တို့ က template file တစ်ခုကို create လုပ်ပြီး runtime မှာ template engine က variables တွေကိုသတ်မှတ်ပေးမှာဖြစ်ပါတယ်.
ကျွန်တော်တို့ မတူညီတဲ့ resources တွေမှာ configuration management လုပ်တဲ့အခါမှာ static configuration file နဲ့ manage လုပ်ရတာခက် ပါတယ်.
ကျွန်တော်တို့ template engine ကိုသုံးပြီး variables တွေကို သက်ဆိုင်ရာ resources အလိုက် ပြောင်းလဲပြီး သုံးရတာ အဆင်ပြေပါတယ်.
Jina2 template file က simple text file တစ်ခုပါ, Jinja2 template file ထဲမှာ ကိုယ်သတ်မှတ်ချင်တဲ့ variables, Jinja2 delimiters တွေကိုထည့်ရေးလို့ရပါတယ်.
default jinja2 delimiters
- {% .. %} for Statements
- {{ … }} for Expressions
- {# … #} for Comments
- # .. # for Line Statements
{% … %} ကို statements တွေအတွက်သုံးပါတယ်. if, elif, else, for-loop စတဲ့ control structures တွေနဲ့သုံးပါတယ်.
statements ဆိုတာက print statements, assignment statements တို့ကိုပြောတာပါ.
control structure ဆိုတာက program code ရဲ့ control flow ကိုပြောတာပါ.
Jinja2 က python နဲ့ရေးထားတာ ဖြစ်လို့ python control flow ကိုသုံးပါတယ်.
python control structures သုံးမျိုး ကိုကြည့်ပါ.
- Sequential - default mode
- Selection - used for decisions and branching
- Repetition - used for looping, i.e., repeating a piece of code multiple
               times
Sequential statements
sequential statements ကို statements တွေကို sequence အလိုက် run တဲ့နေရာမှာသုံးပါတယ်.
## This is a Sequential statement

a=20
b=10
c=a-b
print("Subtraction is : ",c)
sequential statements မှာ source code line တစ်ခုက error တက်ရင် code execution က break ဖြစ်မှာပါ.
Selection Statements
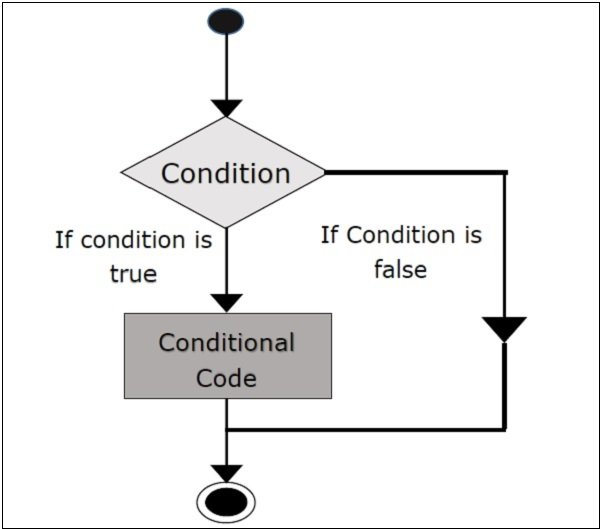
selections statements ကို decision control statements or branching statements လို့လဲခေါ်ပါတယ်.
selections statements ကို statements တွေကို condition ပေါ်မူတည်ပြီး run တဲ့နေရာမှာ သုံးပါတယ်.
decision statements တွေက,
- if
- if-else
- nested if
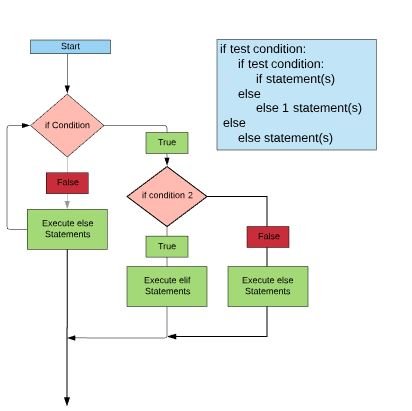
- if-elif-else
if statements နမူနာကိုကြည့်ပါ.
n = 10
if n % 2 == 0:
   print("n is an even number")
if-else statements နမူနာကို ကြည့်ပါ.
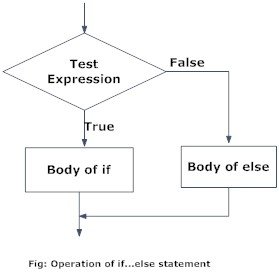
n = 5
if n % 2 == 0:
   print("n is even")
else:
   print("n is odd")
nested if statements နမူနာကို ကြည့်ပါ.
a = 5
b = 10
c = 15
if a > b:
   if a > c:
      print("a value is big")
   else:
       print("c value is big")
elif b > c:
    print("b value is big")
else:
     print("c is big")
if-elif-else statements နမူနာကို ကြည့်ပါ.
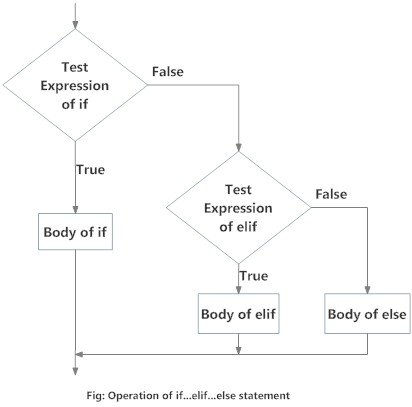
x = 15
y = 12
if x == y:
   print("Both are Equal")
elif x > y:
    print("x is greater than y")
else:
    print("x is smaller than y")
Repetition Statement
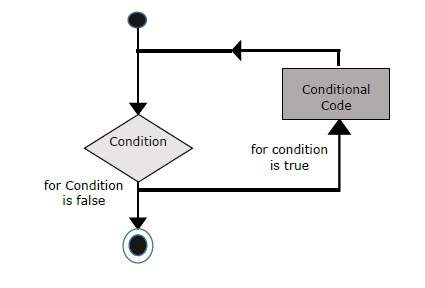
Repetition Statements ကို group of statements တွေကို repeated action အနေနဲ့ run တဲ့နေရာမှာ သုံးပါတယ်.
Repetition statements တွေက,
- for loop
- while loop
for loop နမူနာကို ကြည့်ပါ.
lst = [1, 2, 3, 4, 5]
for i in range(len(lst)):
     print(lst[i], end = " ")

for j in range(0,10):
    print(j, end = " ")
While loop နမူနာကို ကြည့်ပါ,
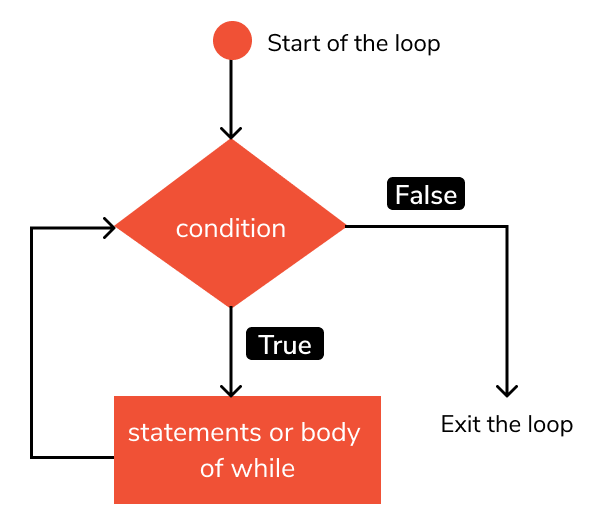
m = 5
i = 0
while i < m:
     print(i, end = " ")
     i = i + 1
print("End")
Jinja2 Delimiters
{% … %}
{% … %} ကို statements တွေအတွက်သုံးပါတယ်.if, elif, else, for-loop စတဲ့ control structures တွေနဲ့သုံးတာကိုကြည့်ပါ.
Jinja2 မှာ for loop ကို သုံးရင် for နဲ့စပြီး endfor ပြန်ပိတ်ပါတယ်.
{% for user in users %}
  {{ user.username }}
{% endfor %}
users က iterable object ပါ, user က iterator ( loop ) variables ဖြစ်ပြီး users ( iterable object ) ထဲမှာရှိတဲ့ variables တွေကို iterate လုပ်ပါတယ်.
in က Membership Operators ဖြစ်ပြီး users ( iterable object ) ကို test လုပ်ပါတယ်.
nested condition and loop တွေကိုလဲသုံးလို့ရပါတယ်. for statement ထဲမှာ if, else, elif, for loop တို့ကို ထဲရေးတာကိုပြောတာပါ.
for and if condition loop
{% for user in users if not user.hidden %}
    {{ user.username|e }}
{% endfor %}
for else loop
{% for user in users %}
    {{ user.username }}
{% else %}
    no users found
{% endfor %}
Jinja2 မှာ if statement ကို သုံးရင် if နဲ့ စပြီး endif နဲ့ ပြန်ပိတ်ပါတယ်.
if condition
{% if users %}
  {{ users }}
{% endif %}
တစ်ကယ်လို့ users object က True ဖြစ်ရင် users ကို သုံးပါလို့ ကျွန်တော်တို့ if statement နဲ့ check လုပ်တာပါ.
if condition and for loop
{% if users %}
 {% for user in users %}
    {{ user.username }}
 {% endfor %}
{% endif %}
nested condition and loop တွေကိုလဲသုံးလို့ရပါတယ်. if, for statement ထဲမှာ else, elif, for loop တို့ကို ထဲရေးတာကိုပြောတာပါ.
if /elif/else condition
{% if kenny.sick %}
    Kenny is sick.
{% elif kenny.dead %}
    You killed Kenny!  You bastard!!!
{% else %}
    Kenny looks okay --- so far
{% endif %}
{{ … }}
Jinja2 မှာ ” {{ … }} “ ကို expression အတွက်သုံးပါတယ်.
expression ဆိုတာက variables, operators ( addition, subtraction, multiplication, division ) တွေကို ပြောတာပါ.
{% for i, j in [(1,2), (3,4)] %}
    result={{ i }}>{{ j }}
{% endfor %}
{# … #}
Jinja2 မှာ “{# … #}” ကို comments အတွက်သုံးပါတယ်.
{# note: commented-out template because we no longer use this
    {% for user in users %}
        ...
    {% endfor %}
#}
Jinja2 details ကို အောက်ပါ link မှာကြည့်ပါ.
https://jinja.palletsprojects.com/en/2.10.x/templates/
Jinja2 Template Files
ကျွန်တော်တို့ Jinja2 file ကို create လုပ်ပြီး စမ်းကြည့်ရအောင်.
ကျွန်တော်တို့ apache web server အတွက် index.html file ကို jinja2 နဲ့ ရေးကြည့်ရအောင်.
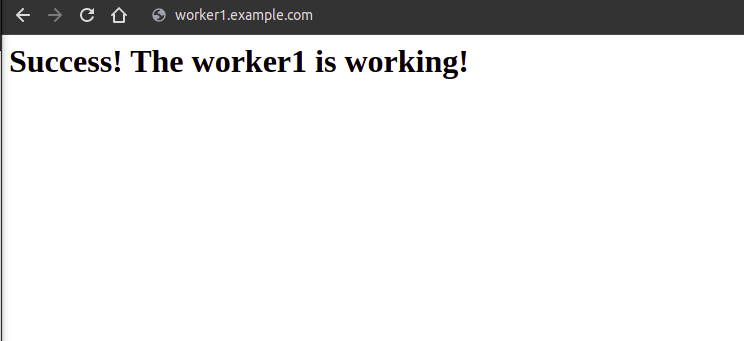
vim index.html.j2<html>
<head>
<title>Welcome to {{ ansible_hostname }} </title>
</head>
<body>
<h1>Success! The {{ ansible_hostname }} is working!</h1>
</body>
</html>ကျွန်တော်တို့ Jinja2 template file ကို ansible playbook မှာ template module နဲ့ ခေါ်သုံးလို့ရပါတယ်.
vim apache.yaml---
- name: deploy apache web server
hosts: worker1.example.com
tasks:
- name: install apache
apt:
name: apache2
state: latest
- name: use jinja2 file for web server
template:
src: index.html.j2
dest: /var/www/html/index.html
mode: 0775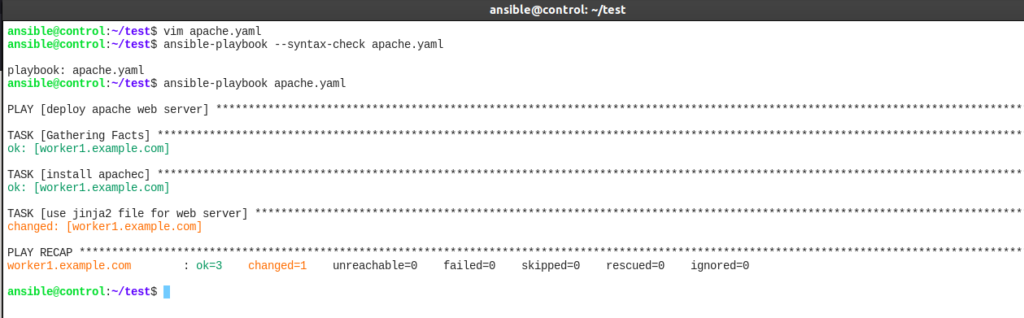
Jinja2 ကို control structure နဲ့သုံးတာကို ကြည့်ပါ. for loop ကို သုံးထားပါတယ်.
vim hosts.j2{% for host in groups['all'] %}
{{ hostvars[host]['ansible_facts']['all_ipv4_addresses'] }} {{ hostvars[host]['ansible_facts']['hostname'] }}
{% endfor %}Jinja2 ကို ansible magic variables တွေနဲ့ လဲသုံးလို့ရပါတယ်.
hostvars and groups က ansible magic variables ပါ.
groups ( magic variables ) ကိုသုံးပြီး all group ( inventory ) ထဲက hosts တွေကို for loop ပတ်ပြီး ip and hostname ကို /etc/hosts.txt မှာ သတ်မှတ်တာပါ.
ansible playbook မှာသုံးတာကို ကြည့်ပါ.
vim hosts.yaml---
- name: check hosts file
hosts: all
tasks:
- name: use jinja2 file for hosts file
template:
src: hosts.j2
dest: /etc/hosts.txt
mode: 0644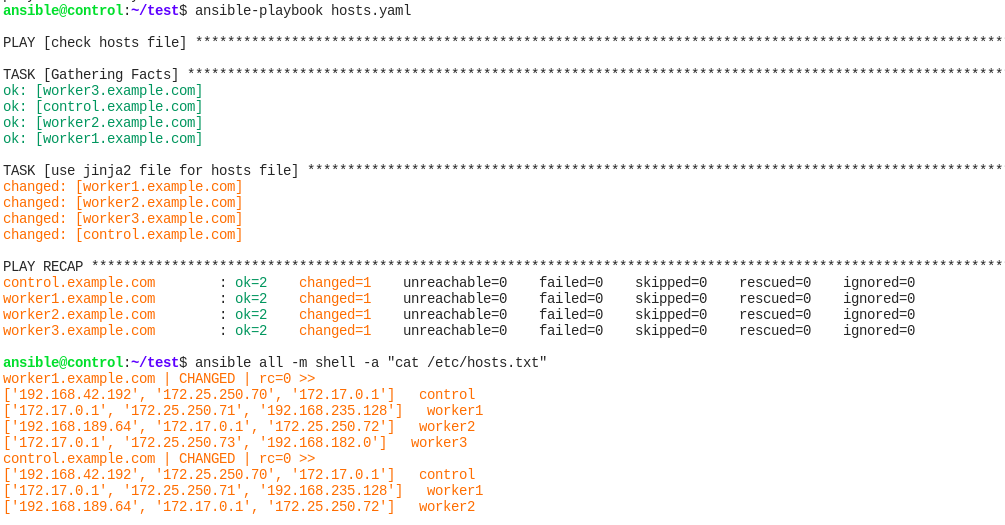
ansible Jinja2 Template Docs ကို အောက်ပါ links မှာ ကြည့်ပါ.
https://docs.ansible.com/ansible/2.3/playbooks_templating.html
ansible ကို ဆက်လေ့လာလိုလျှင်.
https://www.ansiblefordevops.com/
https://www.jeffgeerling.com/blog/2020/ansible-101-jeff-geerling-youtube-streaming-series